

How To Install Plesk On Centos 7
Introduction
Plesk control panel is web hosting command panel software, like cPanel, that lets you easily manage your website through a web-based interface. Information technology allows a server/VPS administrator to set up upwardly new websites, eastward-postal service accounts, etc In this tutorial, we will show you how to install Plesk command console on CentOS vii.
Prerequisites
- An active KVM VPS
- Root user
- A valid domain proper noun pointed to your VPS
- A valid Plesk license.
Plesk must exist installed on a new CentOS install without any changes. Failure to adhere to this could consequence in a borked CentOS and/or Plesk install.
i: Install all necessary packages (for CentOS)
Run the following command to update your base system with the latest available packages.
yum update -y yum install wget -y
You must assign the actual domain proper noun to your case in order for the install to consummate. Replace [e-mail protected] with your actual electronic mail address.
hostnamectl set-hostname instance.com sh -c "wget http://installer.plesk.com/plesk-installer -O - | sh /dev/stdin --source http://installer.plesk.com/ --target /tmp/plesk-installation --select-product-id plesk --select-release-latest --installation-blazon "Typical" --notify-email [email protected]" The installation volition proceed in automatic fashion. The boilerplate time of the whole installation process will be between 30 minutes and 1 60 minutes. The command will initiate the download of the latest stable Plesk release. Once complete, you should receive a message on the console that the Plesk installation has finished.
Congratulations! The installation has been finished. Plesk is at present running on your server.
2: Unblock Plesk admin port
In lodge to access Plesk via the URL given at completion, the Plesk admin port (8443) must be unblocked. Enter the following commands beneath to unblock the Plesk admin port.
firewall-cmd --permanent --add-port=8443/tcp firewall-cmd --reload Access Plesk installer via browser under port 8443 using IP address https://your-ip-address:8443 or hosthttps://your-host-proper name:8443 Provide your ambassador email, countersign, License key and click on theEnterPlesk button. 
- Y'all should run into the Plesk dashboard in the following screen:
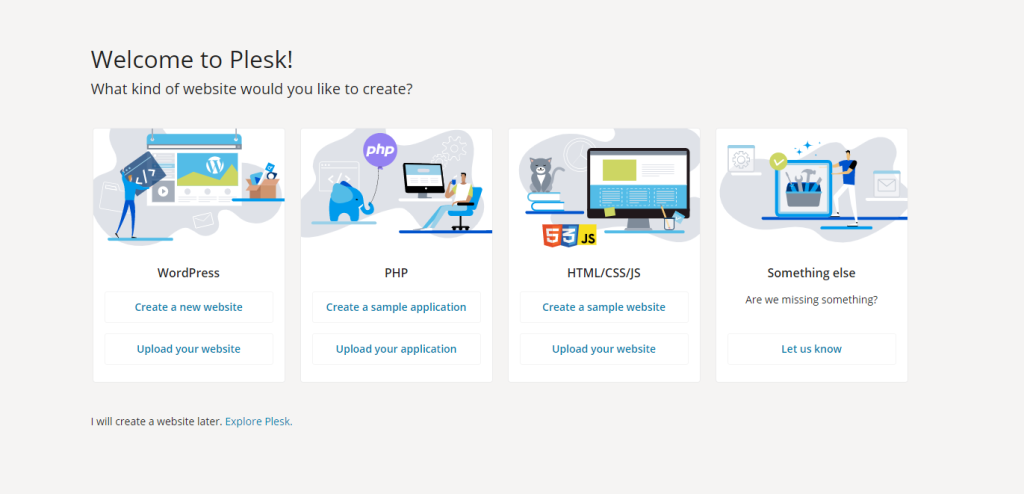
- You can choose "i volition create a website later. Explore Plesk"

That'southward it! Relish GreenCloudVPS and DirectAdmin!

Source: https://green.cloud/docs/how-to-install-plesk-on-centos-7/
Posted by: piercehurse1967.blogspot.com
0 Response to "How To Install Plesk On Centos 7"
Post a Comment